
Do you ever need to make something simple, like an icon or a slide, even if you’re not a designer? When that happens, Figma plugins make it easy to create something a little more polished than usual.
This article introduces eight plugins that are especially useful for image editing and creating graphic accents. As of June 2024, all of them are available for free, so feel free to try them out.
If you have never used Figma plugins before, the following article explains the basics.
1. Noise & Texture
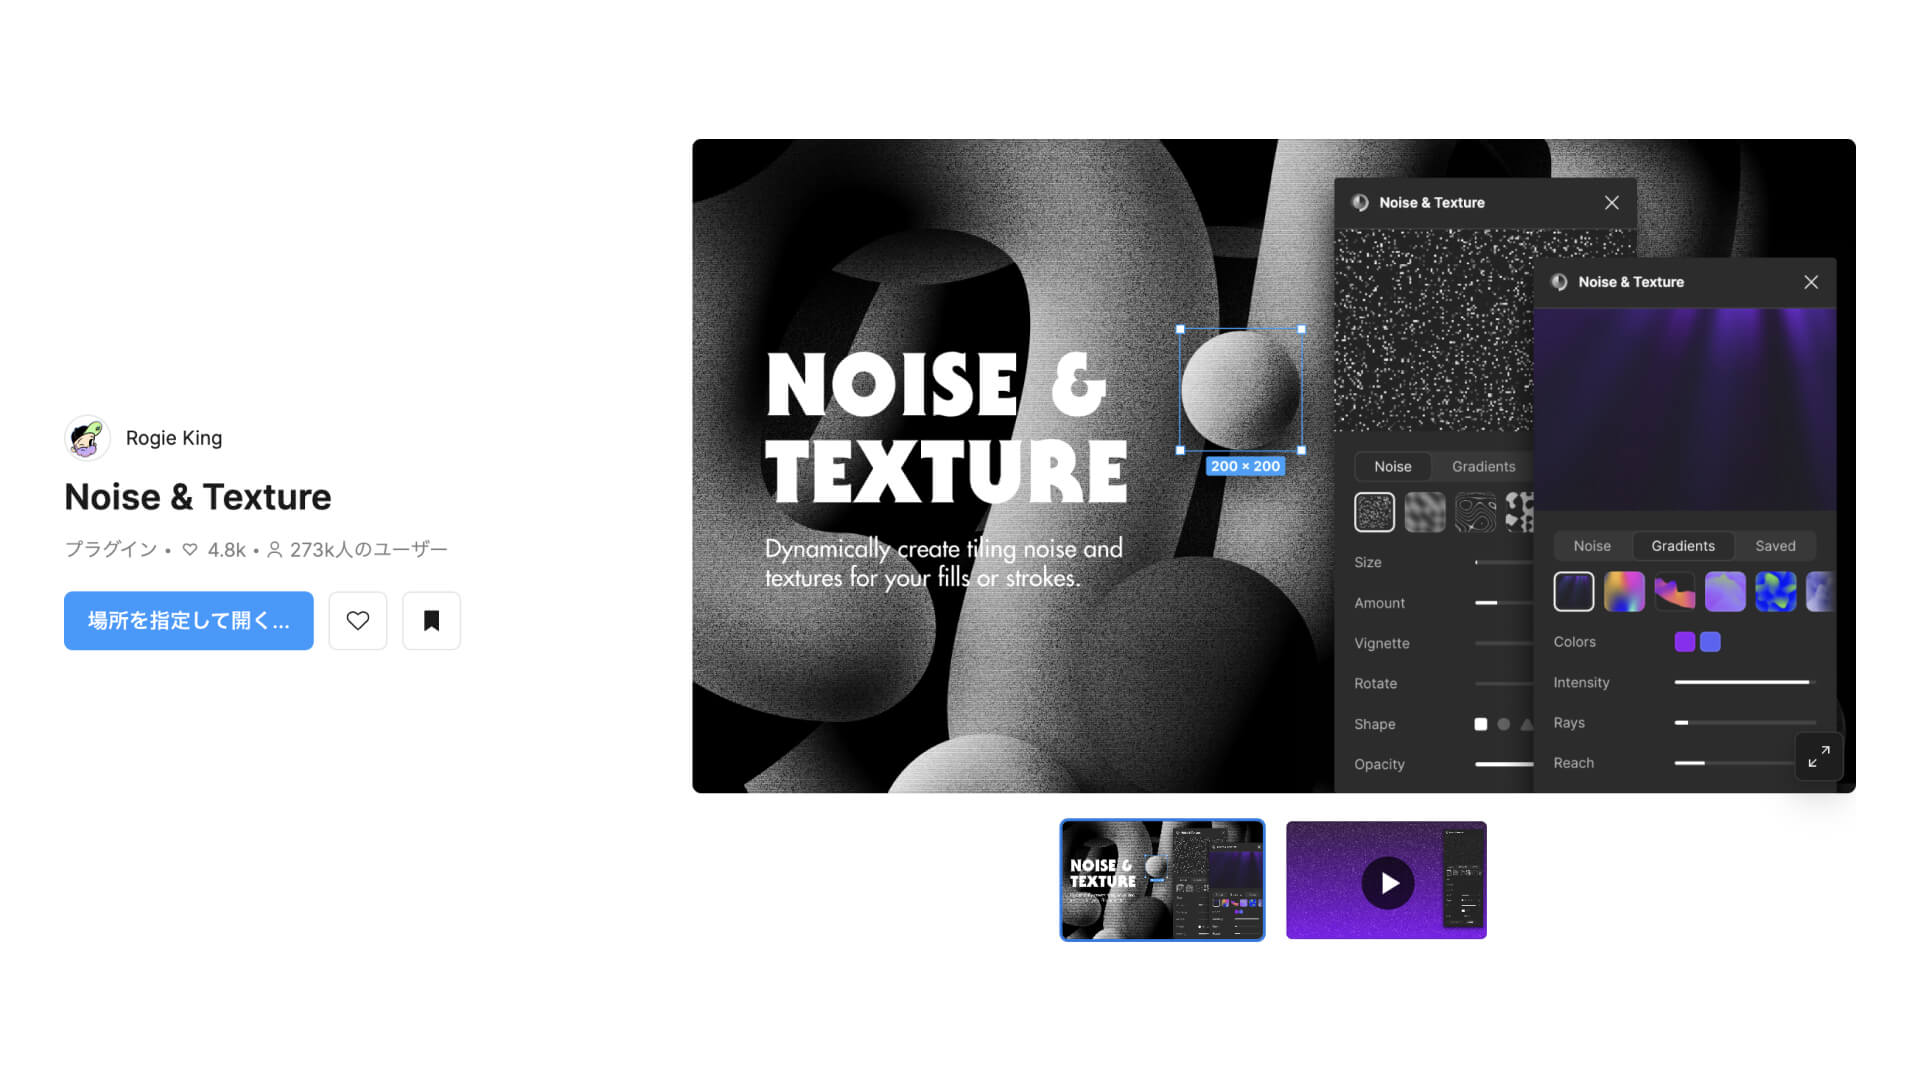
Noise & Texture is a plugin that lets you create noise and various textures as images.
After launching the plugin, click Add to Canvas in the settings panel to generate a texture image on the spot. If you already have a layer selected, the button changes to Add to Layer, and clicking it adds the texture image to that layer’s Fill in Figma.
Noise & Texture comes with a wide variety of textures. You can use them as they are, or adjust settings such as grain size and opacity.

Because there are so many settings available, here is one easy effect worth trying.
Tip: Create a paper-like texture

With the settings below, you can create a grainy, paper-like texture like the one shown above.
- Texture type:
Random Static Size(particle size):1pxAmount(density):40%Color(particle color):#ffffffOpacity(particle opacity):30%
Fine-tune each value to match the base color underneath. A paper-like texture gives a design a slightly richer feel than a simple flat fill or gradient.
To save a customized texture, click the ... menu at the bottom right of the settings panel and select Save texture. It will appear in the Saved tab at the top of the panel.
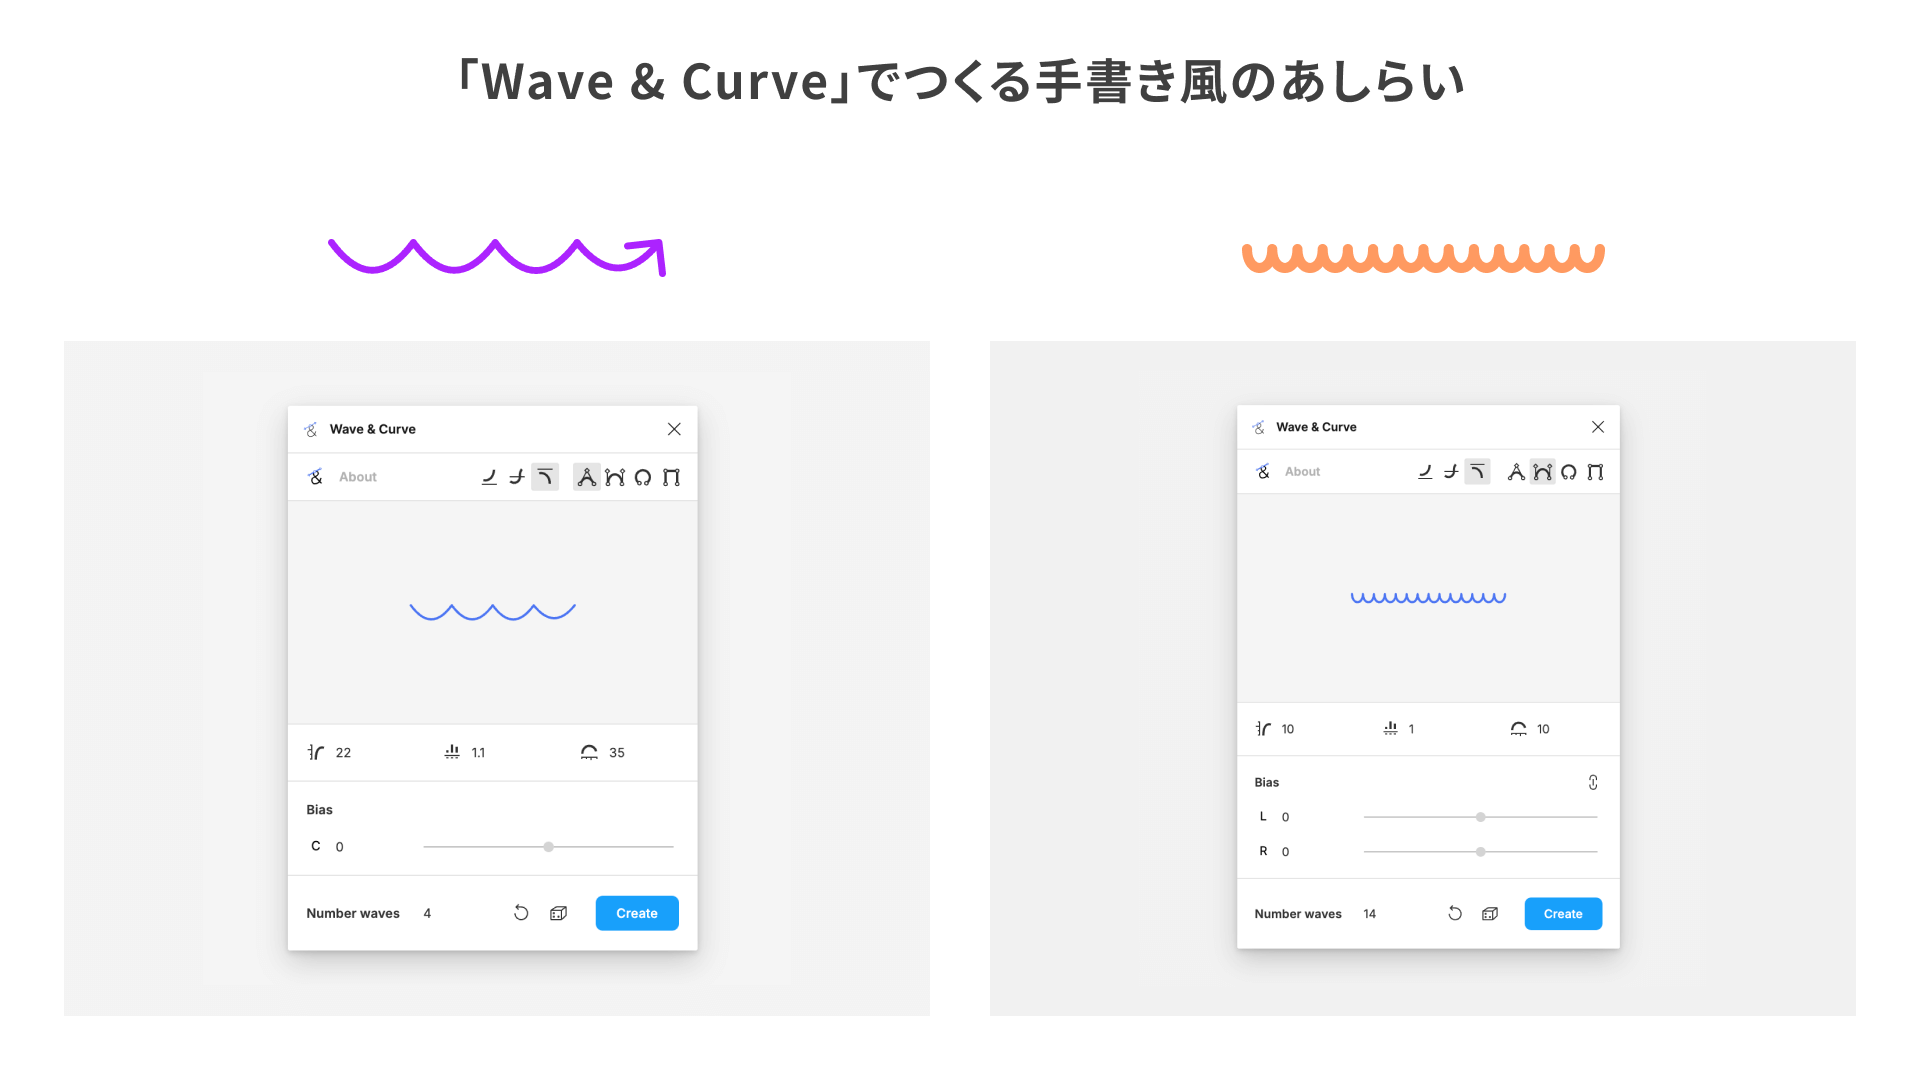
2. Wave & Сurve

Wave & Сurve is a plugin that lets you draw wavy lines with ease. When you launch it, a settings panel opens and displays a default wave. Adjust the shape while previewing the result, then click Create to output it as a line in Figma.

Tip: Create hand-drawn-style accents
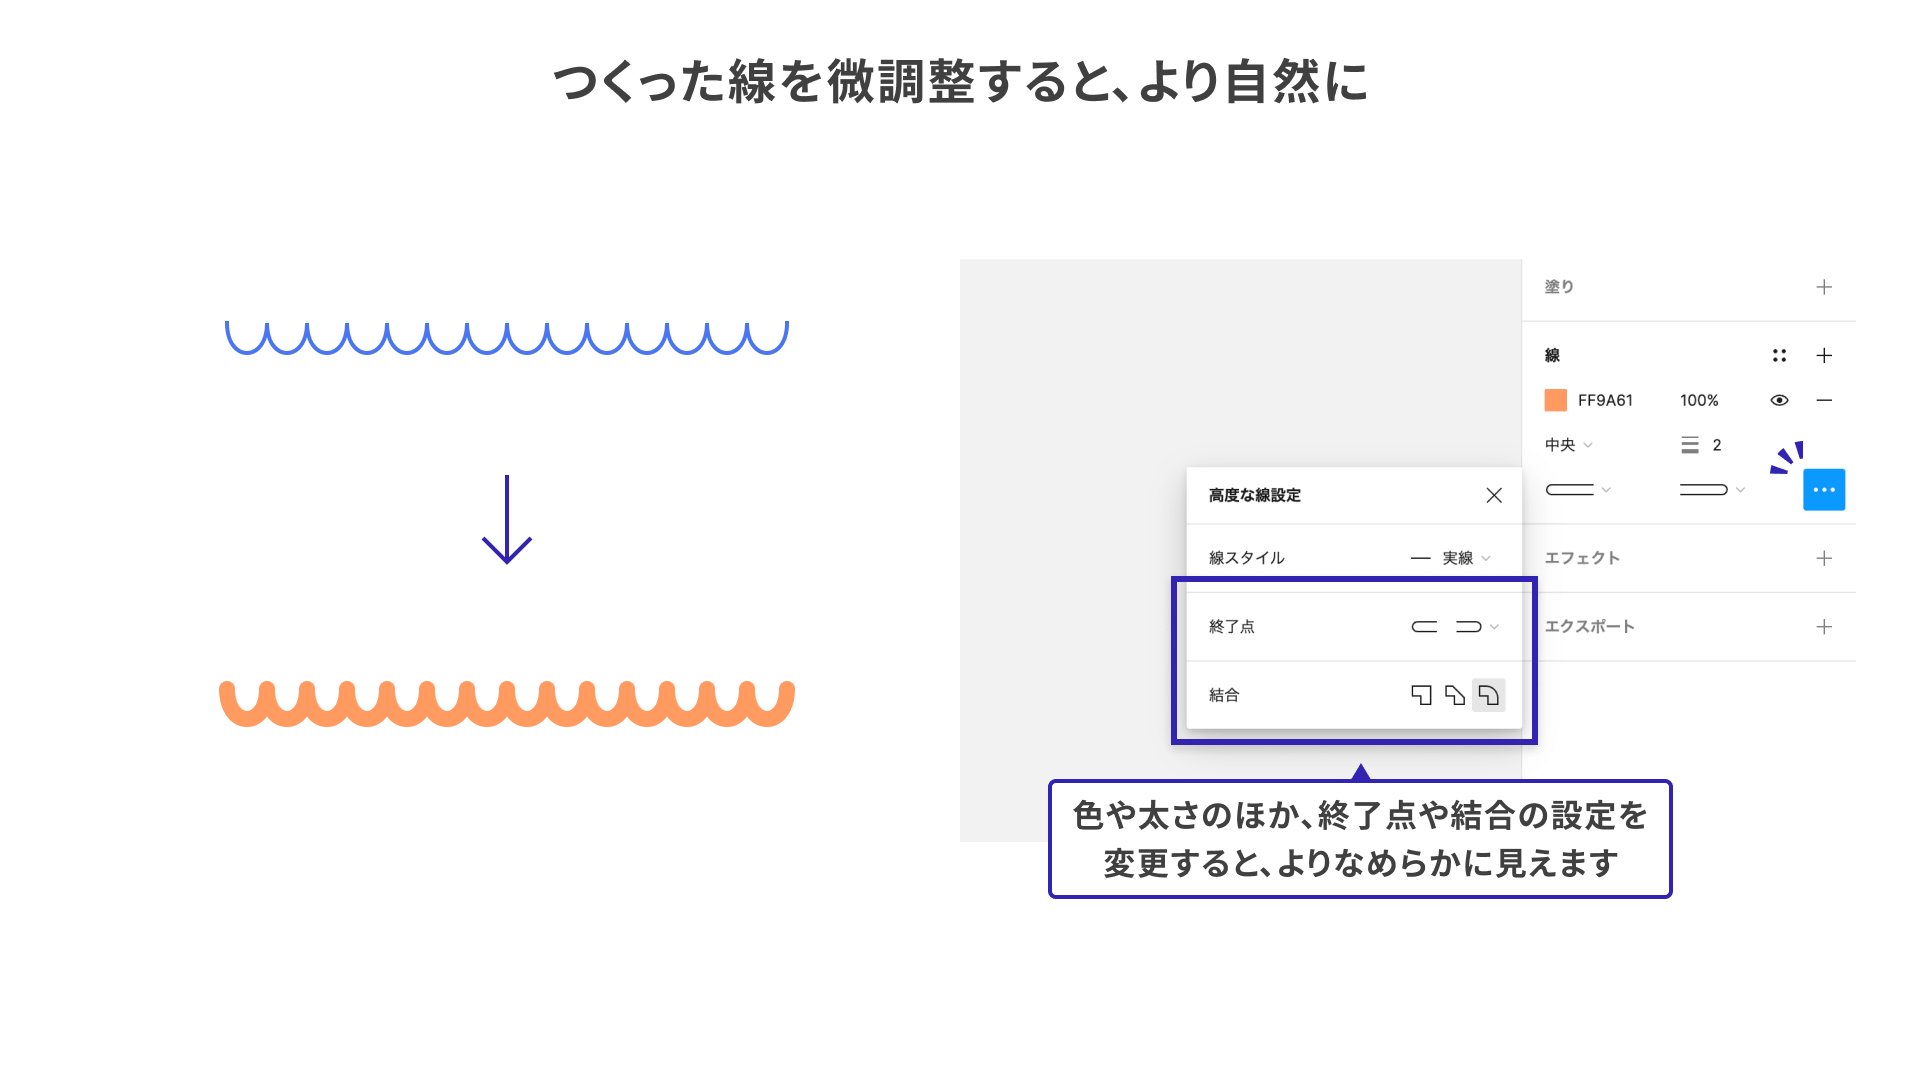
After creating the line, you can make it feel hand-drawn by adding an arrowhead or changing the stroke weight. For example, using it to highlight part of a diagram or illustration can add a nice accent.
In the example on the right above, the line created with Wave & Сurve is refined further with Figma’s own stroke settings. Set both Cap and Join to Round to give the line a softer, more natural look.
3. Mesh Gradient
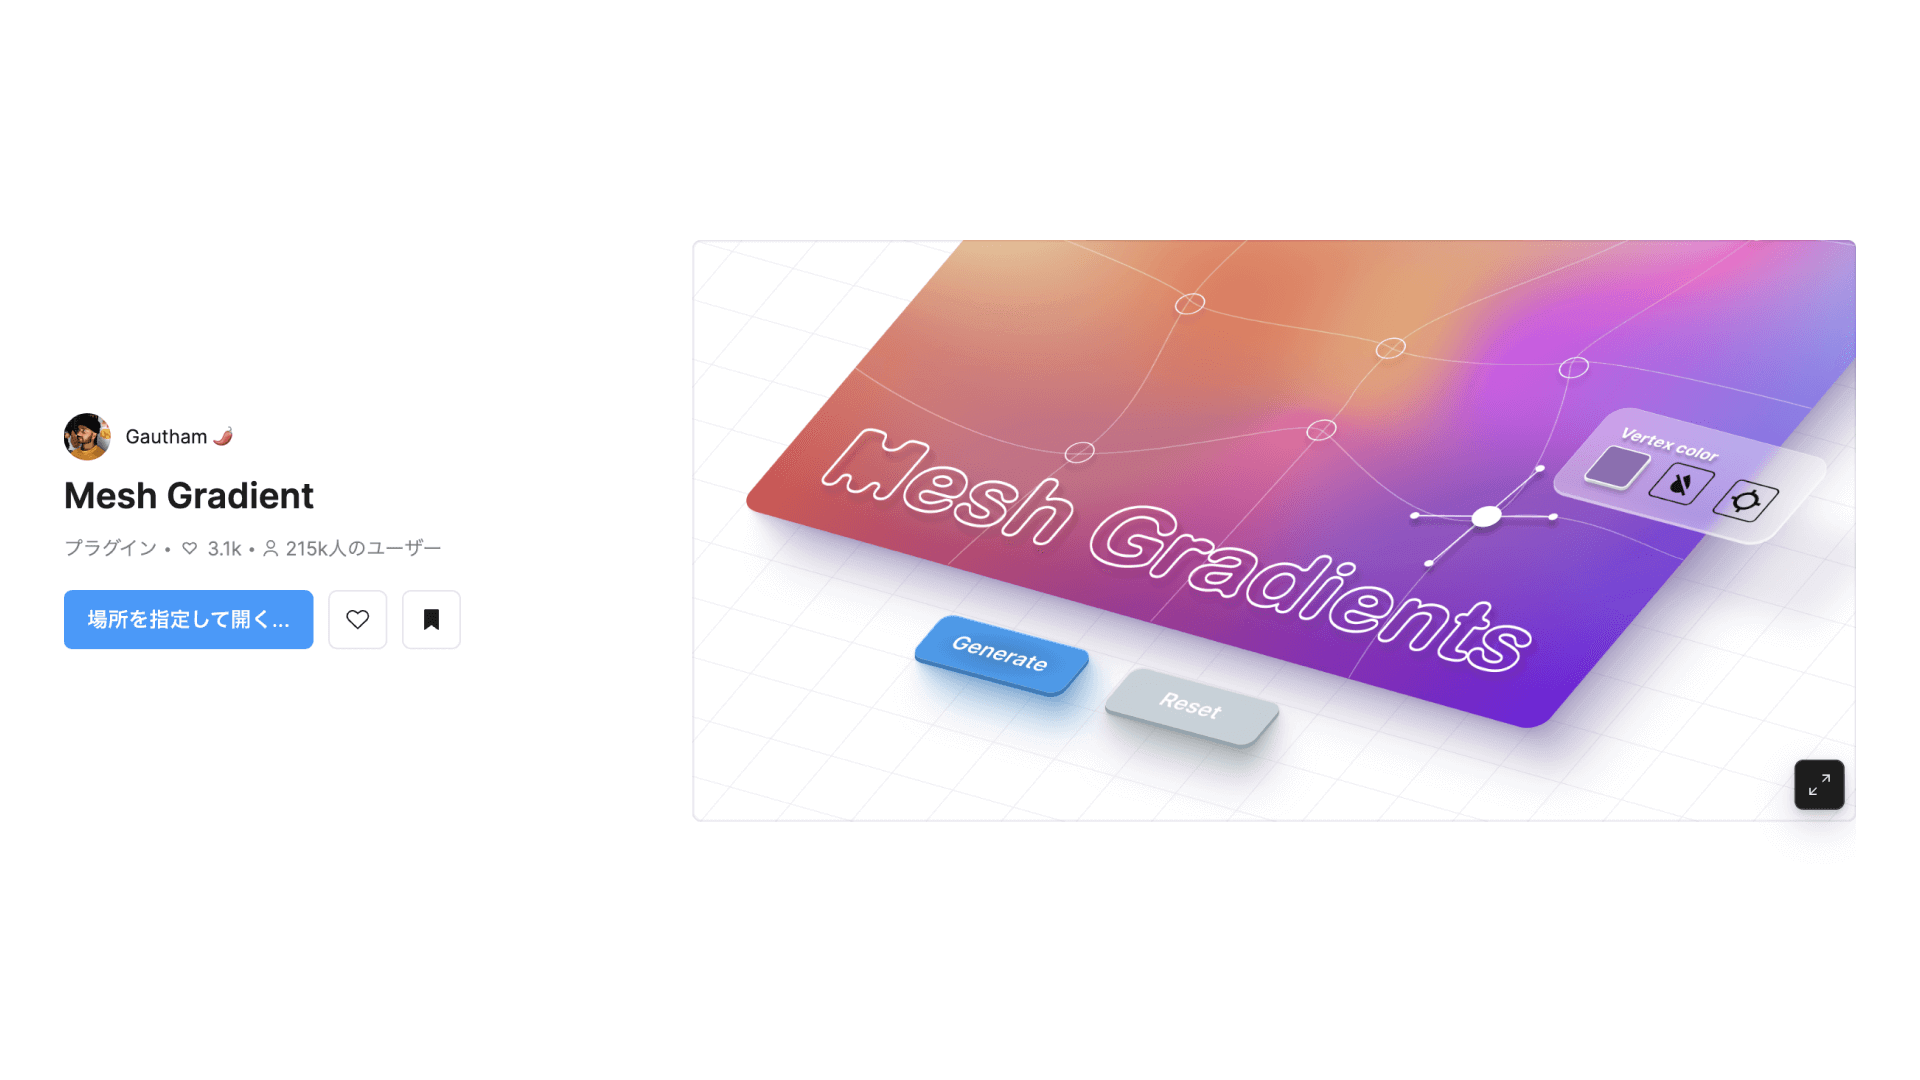
Mesh Gradient is a plugin for easily creating mesh gradients.
When you launch it, a gradient settings panel appears so you can customize the colors and other options. Click Generate to export the gradient as an image. You can adjust the export size using the value to the right of Generate. At 1x, it exports as a 512 px square.
Tip: Use the gradient you created as a mask
Once you have a gradient you like, try applying Figma’s mask feature to different elements.
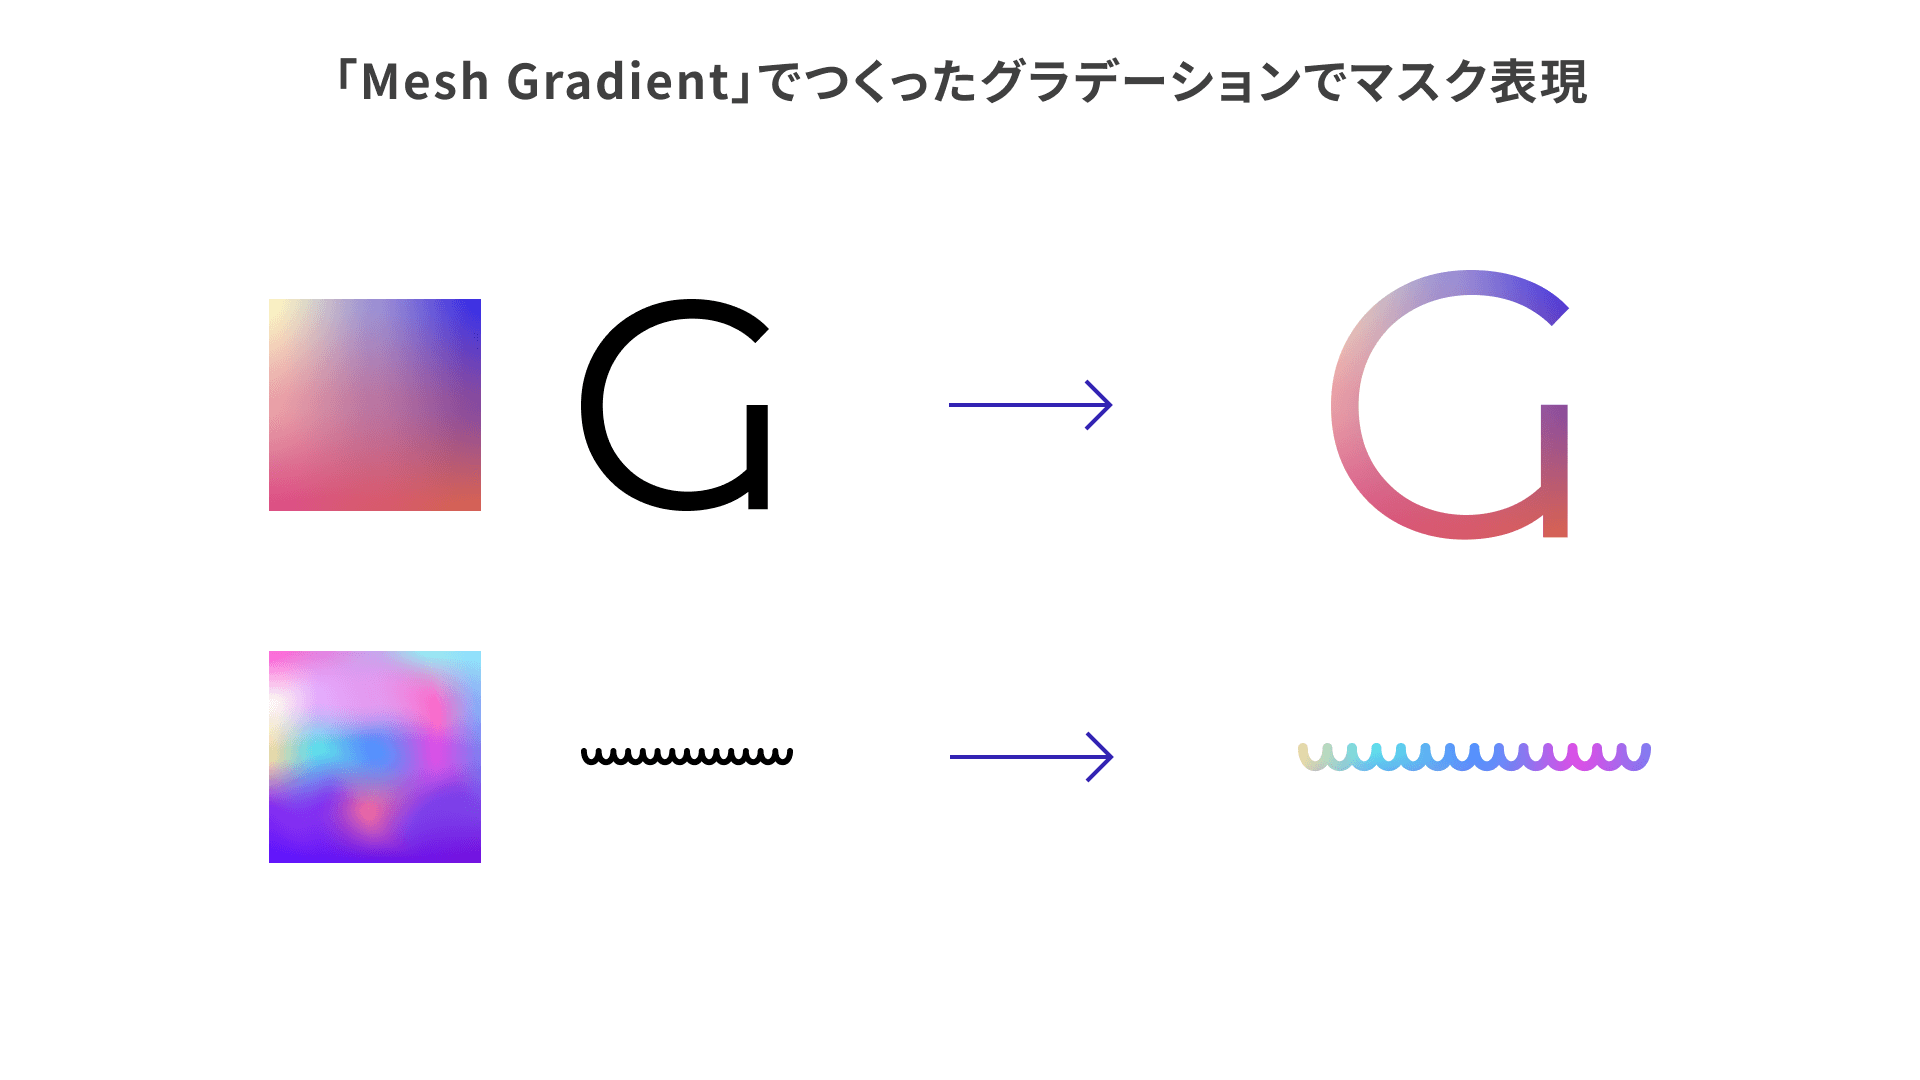
In the lower example above, the mask is made from the wavy line created earlier with Wave & Сurve.
For more on how to use Figma’s mask feature, see the official page below.
Besides masking, you can also layer the gradient over images or export it at a larger size to use as a background.
4. Filter / effects

Filter / effects is a great plugin for anyone who wants to try Photoshop-like image editing in Figma with minimal effort.
You can edit images in the following steps.
- Launch the plugin and open the settings panel.
- Select the layer you want to edit.
- In the
Effectssection of the panel, click the+button and choose an effect. - Customize the effect.
- Click
Save Imageto apply the effect to the layer.
Tip: Create a complex gradient texture from a photo
Because the plugin also includes blur effects, you can use them to create gradients. Mesh Gradient, introduced earlier, builds complex gradients by specifying colors, while Filter / effects starts from an image, making it possible to create more unique gradients.
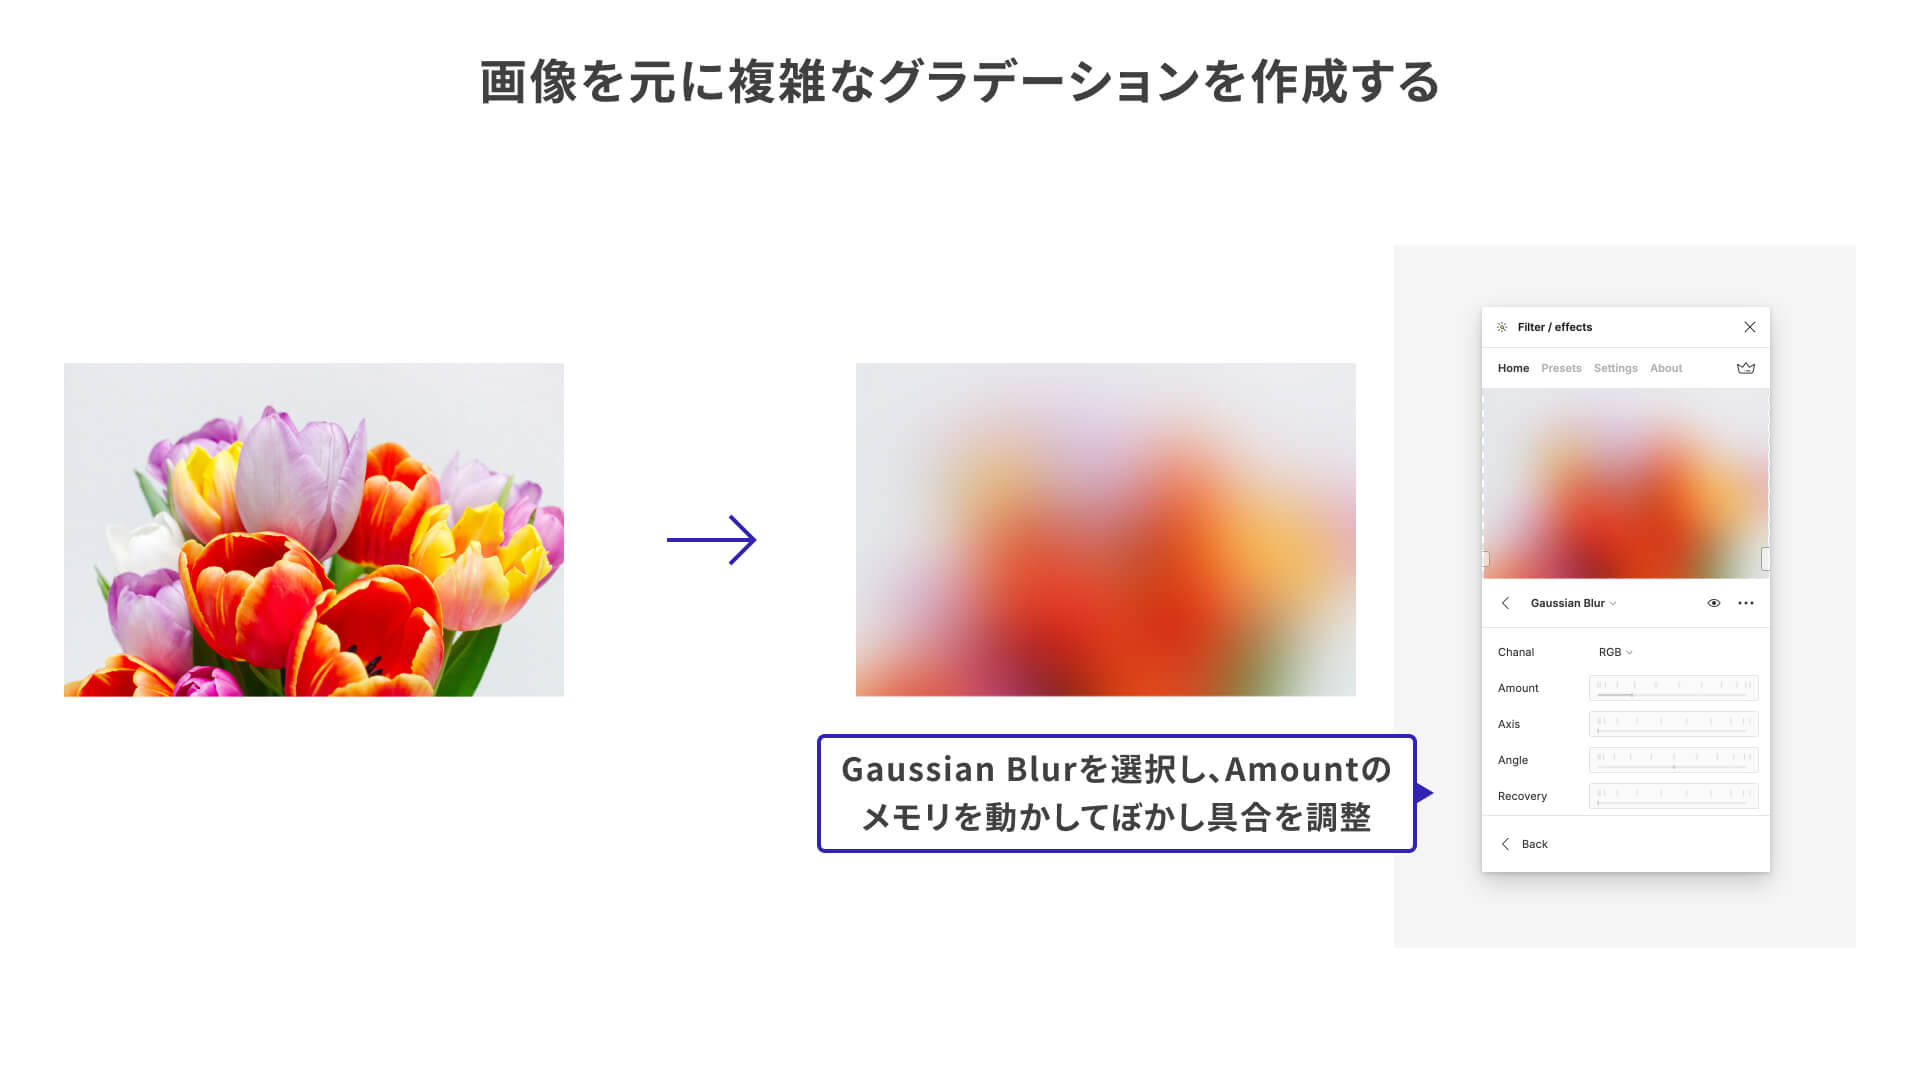
In the example above, the image is blurred with Gaussian Blur, one of the available effects. The blur strength is adjusted with the Amount slider.
Also, each effect applied in Filter / effects is generated on a separate layer, so the original image remains untouched. That makes it easy to experiment with different filters and effects.
5. Dot Grid
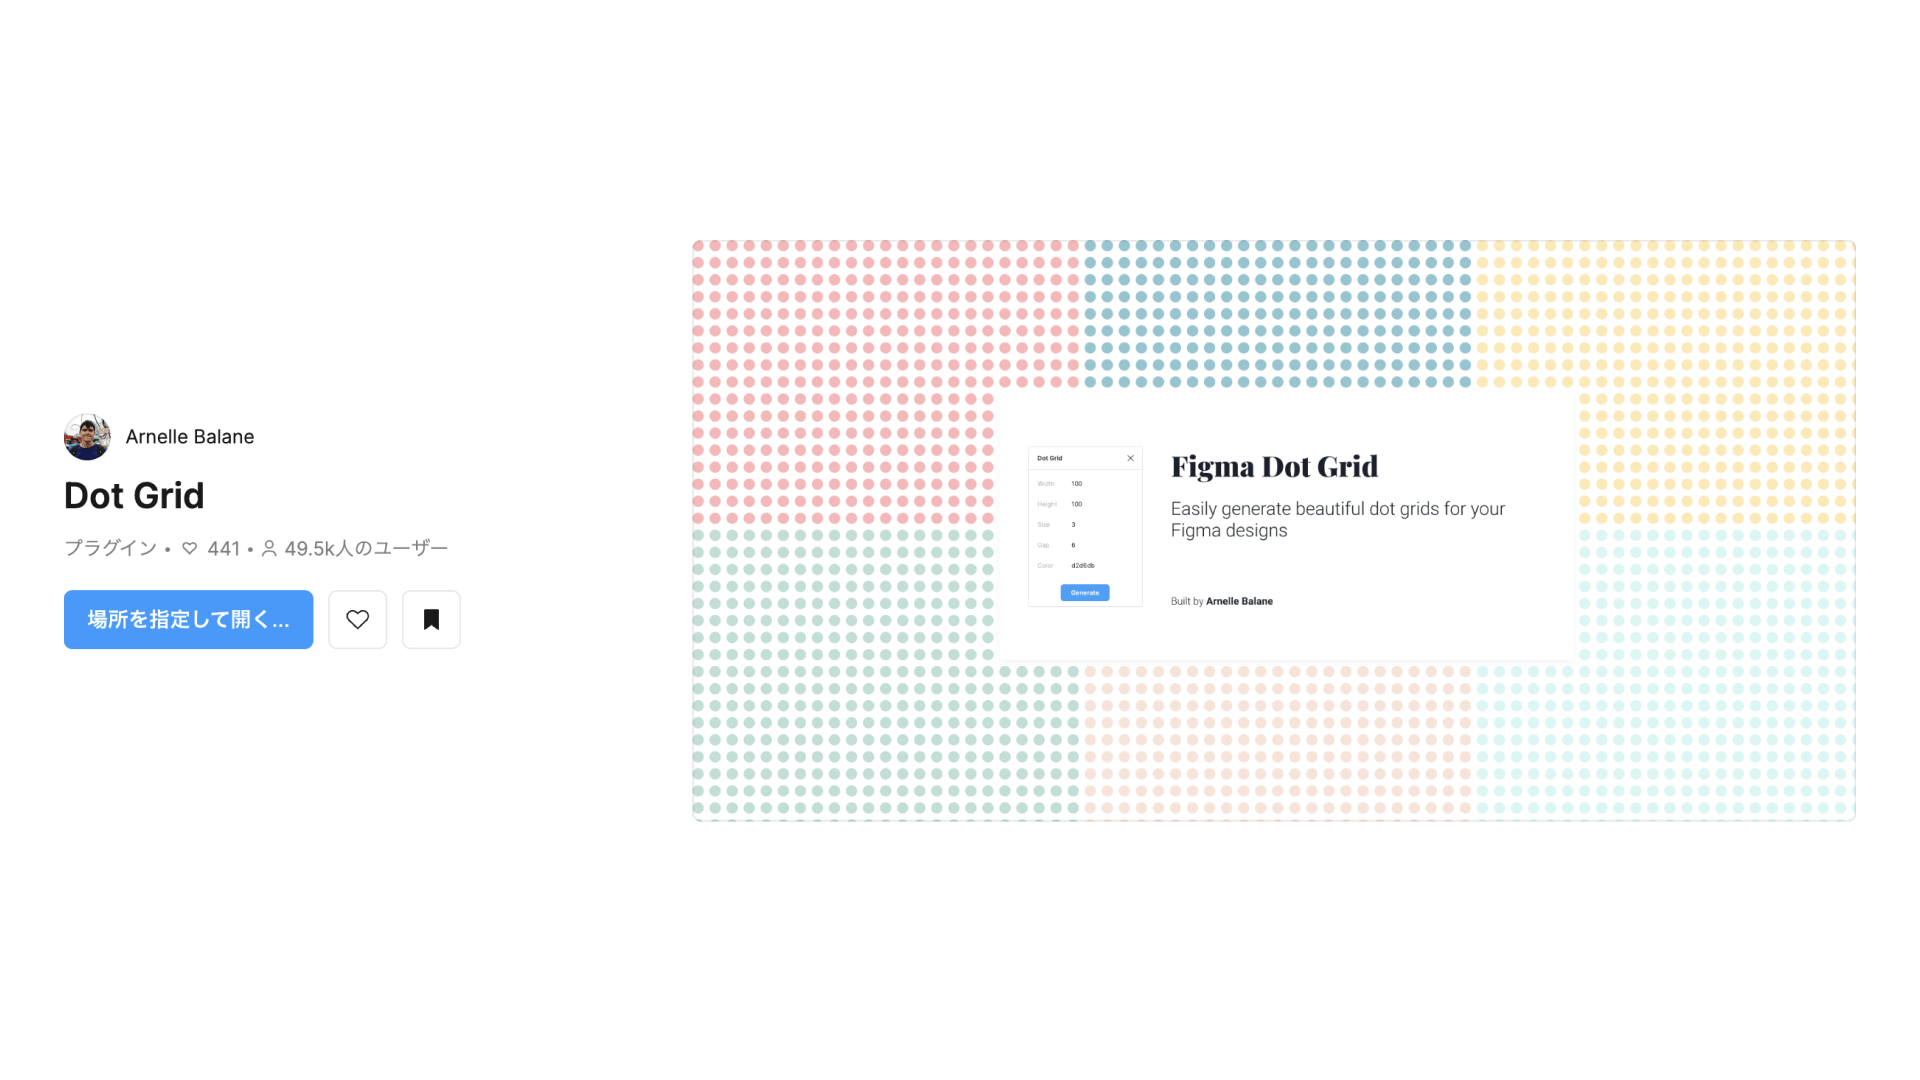
Dot Grid is a plugin that lets you easily create grids made of dots. Each dot is output as an individual shape layer. In the settings panel, you can intuitively customize the size, color, spacing, and more.
Because color can only be entered as a hex code, it is easier to click Generate first, create the dots, and then change the color afterward. Also, if you make Width or Height too large, the plugin will generate a huge number of shape layers, so be careful not to make your file too heavy.
Tip: Create text with a dotted misregistered print effect
Set Size relatively small and make Gap the same value as Size to create a dense dot grid.
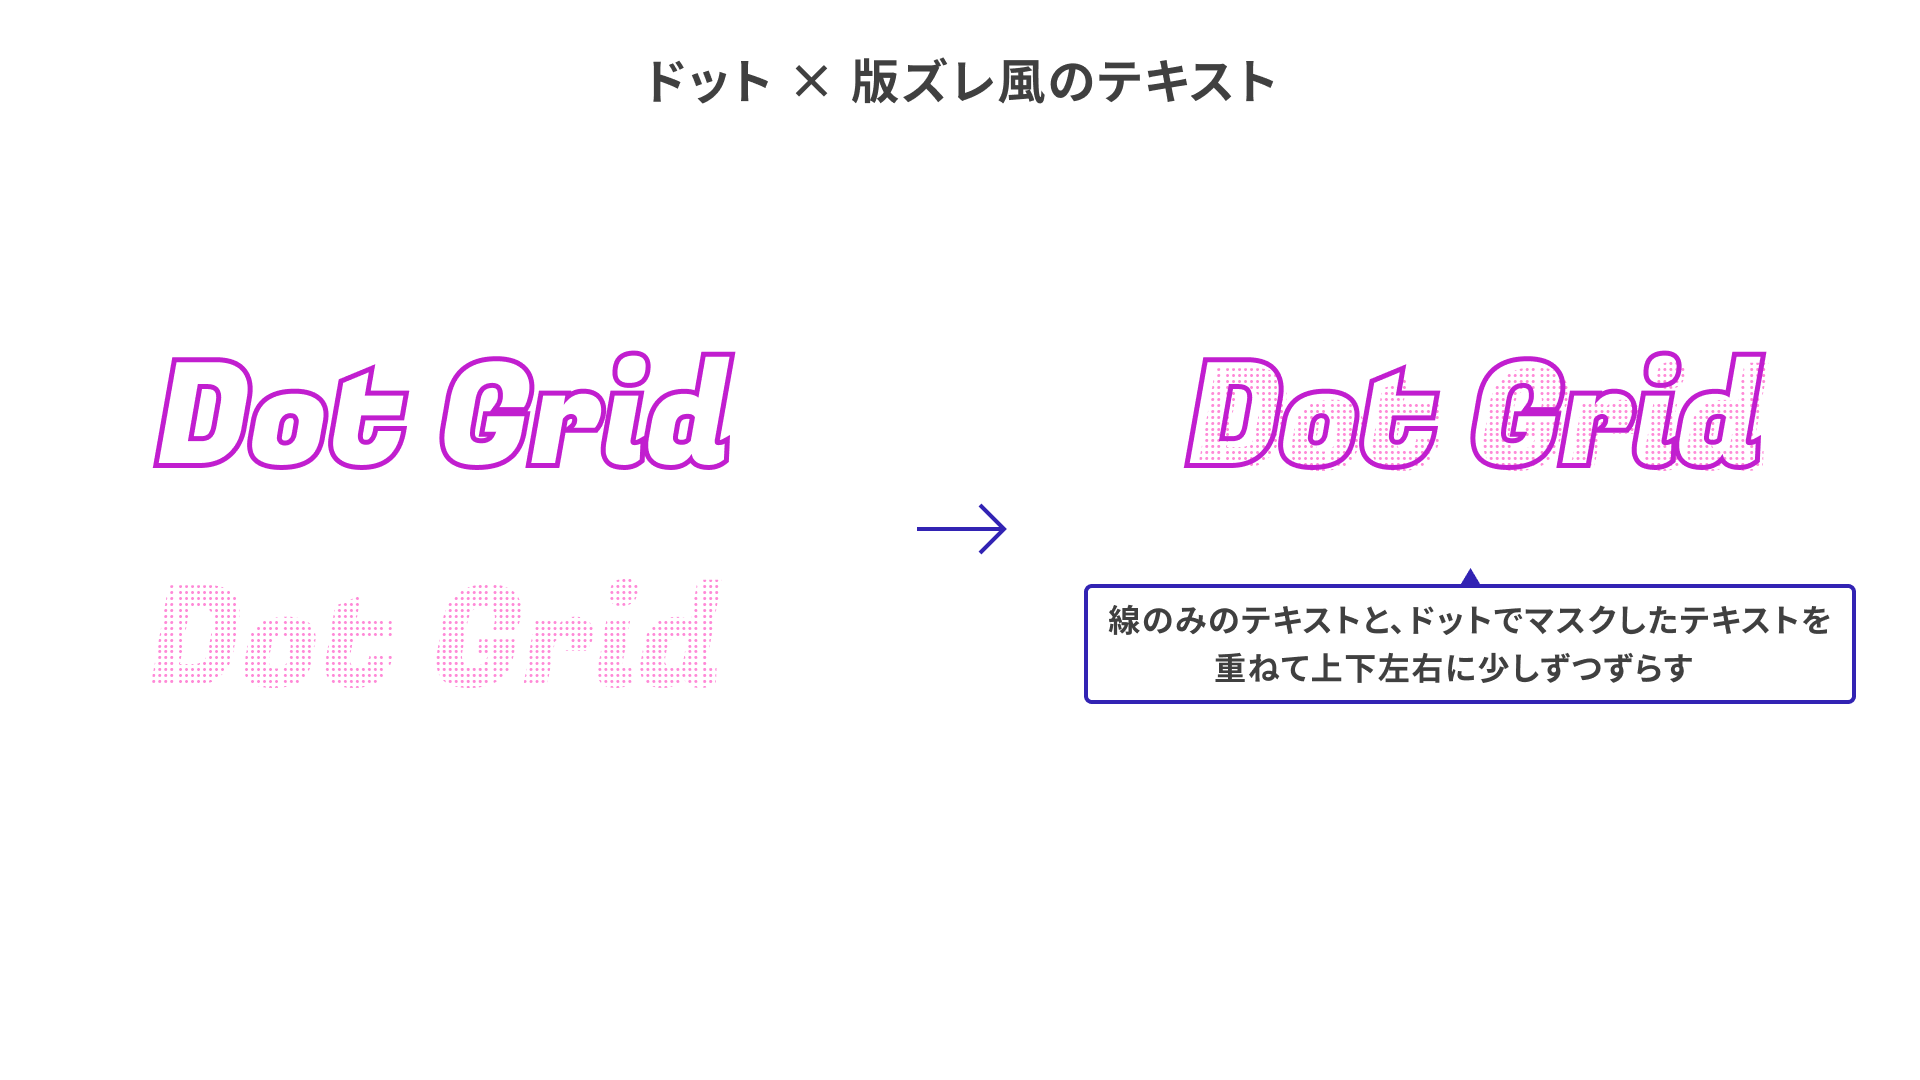
In the example above, a dense dot grid is combined with outlined text to create a misregistered print effect. It is worth trying when strokes and fills alone feel a little too plain, or when you want a more playful look.
6. Blob Generator
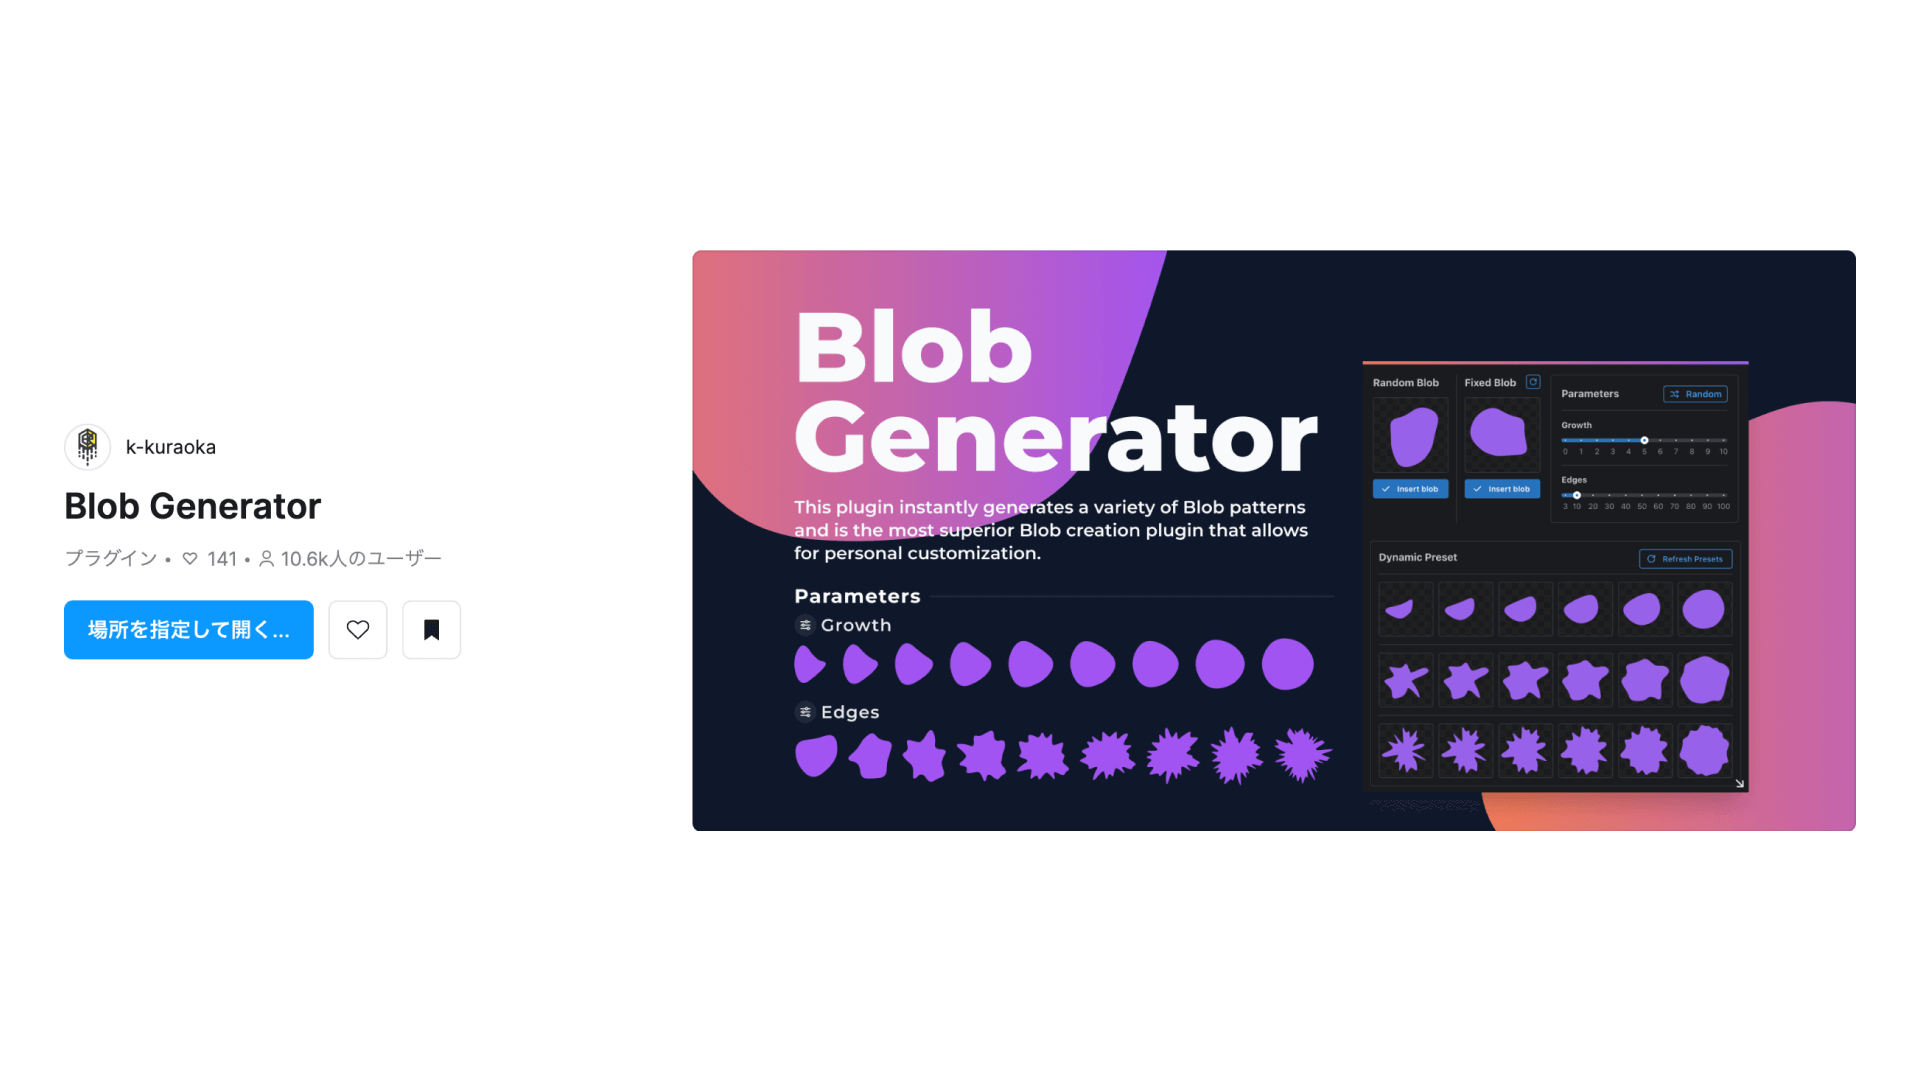
Blob Generator is a plugin for easily creating organic shapes. In the settings panel, click Random, or adjust Growth and Edges, then click Insert blob to output the shape to the canvas.
Tip: Create a slide background
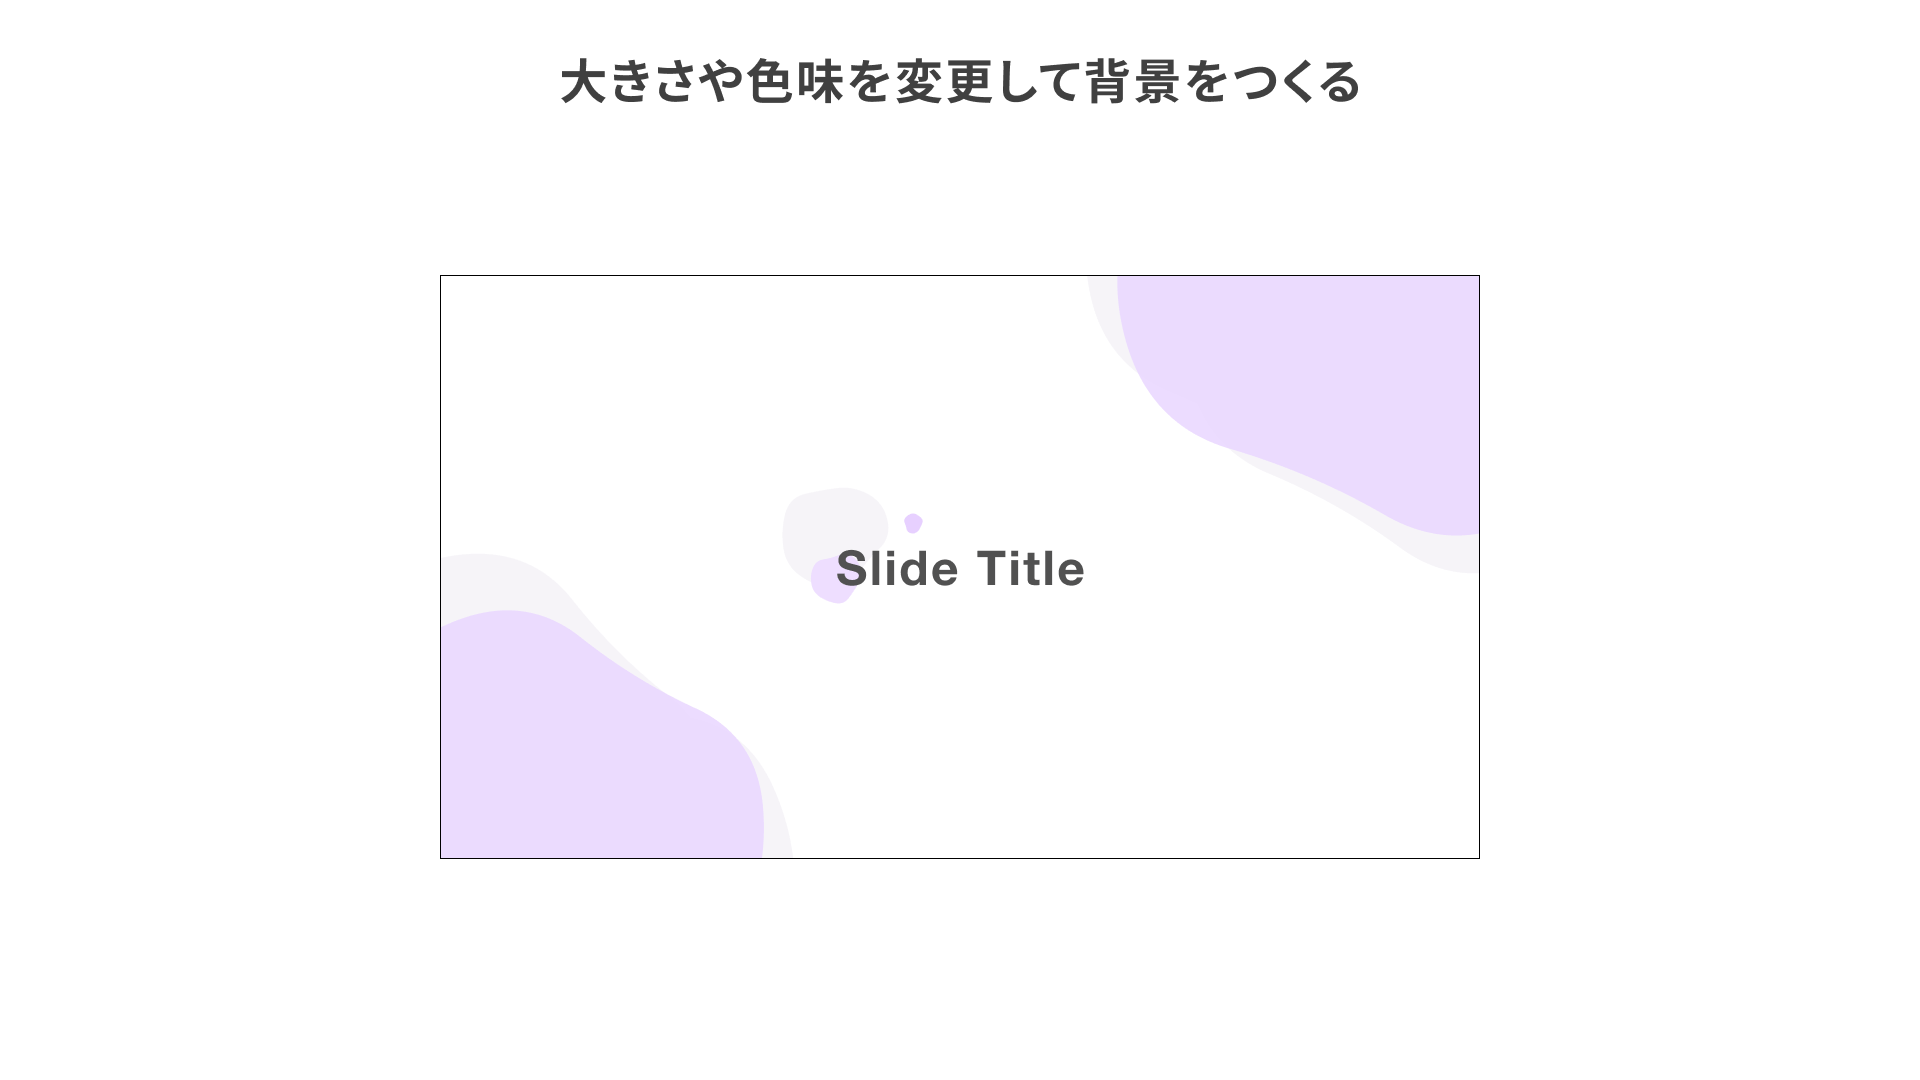
In the example above, a single organic shape is resized, recolored, and scattered across the canvas to create a slide background. Compared with using angular shapes or perfect circles, the result feels softer.
7. Confetti Genie

Confetti Genie is a plugin that applies confetti made from circles, squares, and other shapes to a frame.
Use the following steps to apply confetti.
- Launch the plugin and open the settings panel.
- Add the colors you want in the
Select colorsarea. - Select the frame you want to apply it to.
- Click
Generate with selected colorsto apply it.
At the top of the settings panel, you can also adjust options such as density and the shapes included in the confetti.
Tip: Create a confetti-style slide background
Applying it to the entire frame as-is can look very busy, so here is a subtler example.
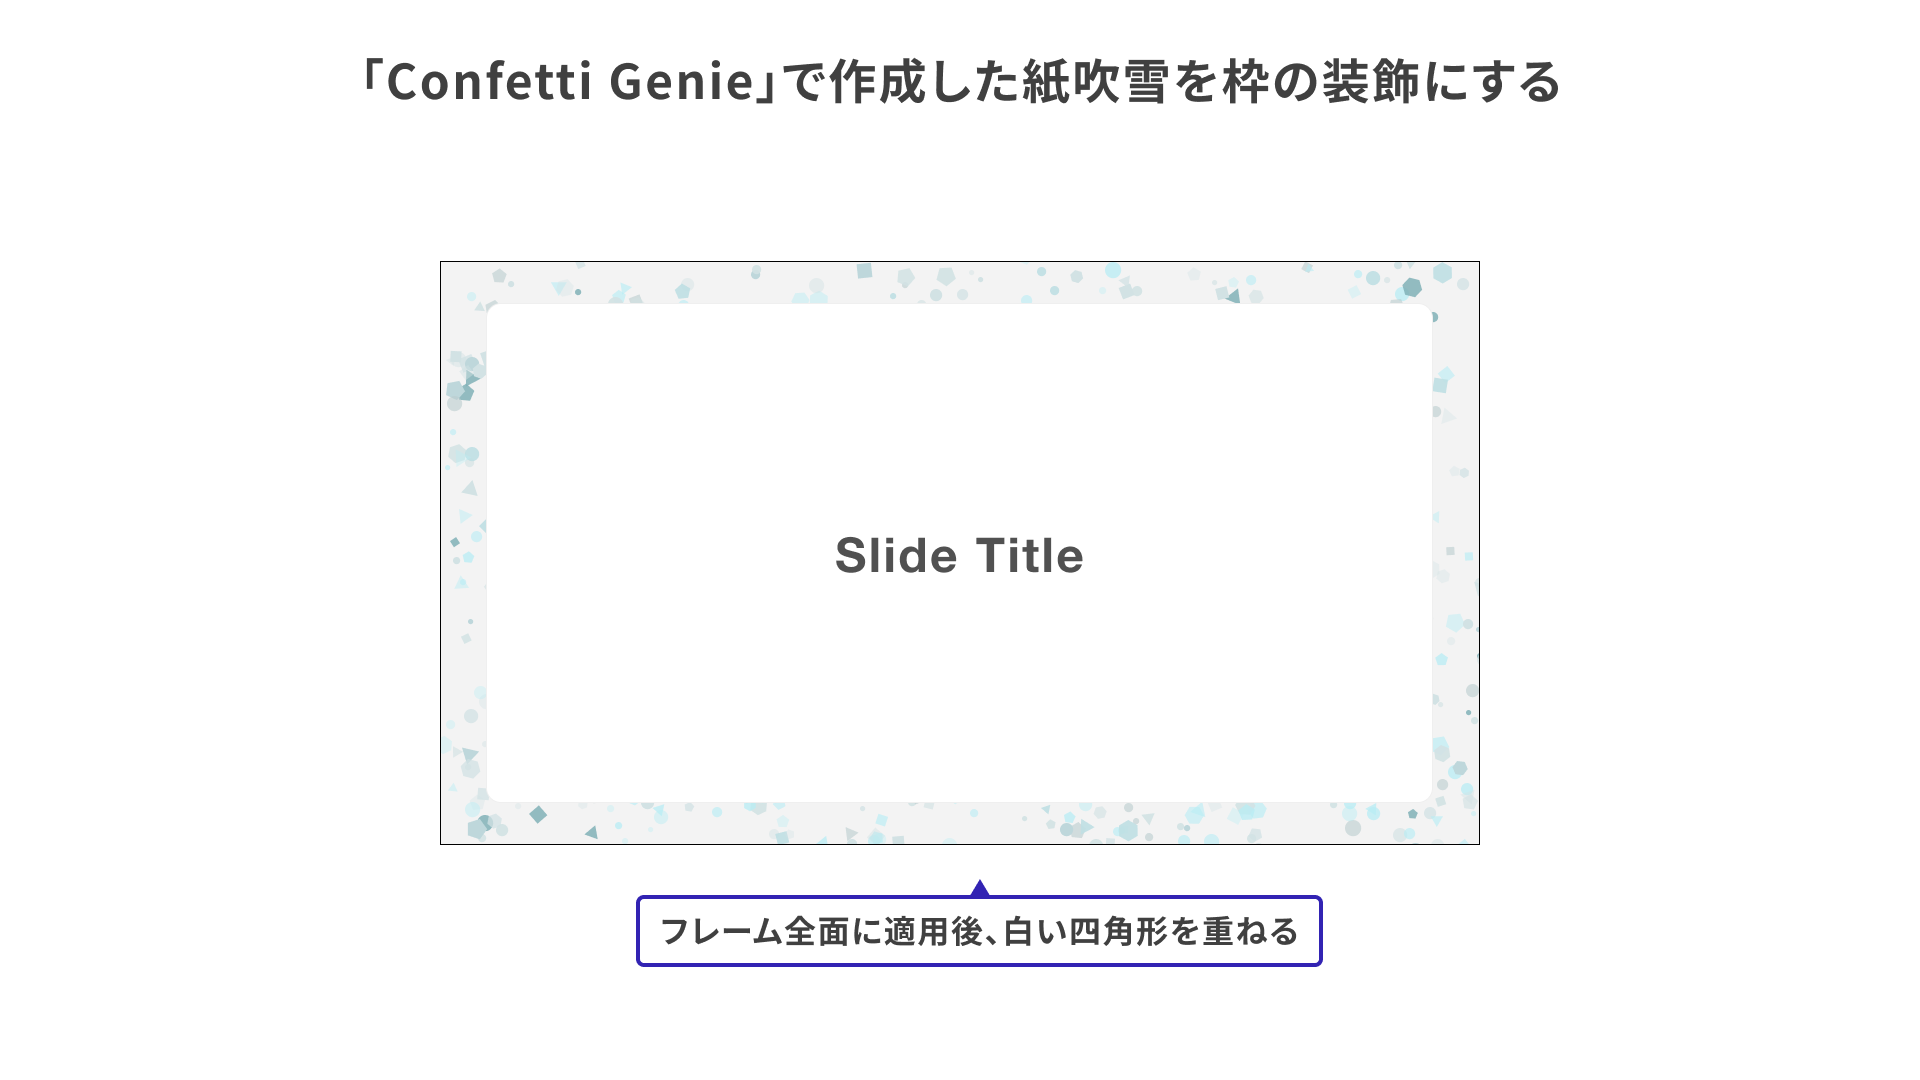
In the example above, confetti is first applied to the entire frame, and then a white-filled shape is placed on top to create a confetti-style border. It adds a small accent without getting in the way of text.
8. oblique
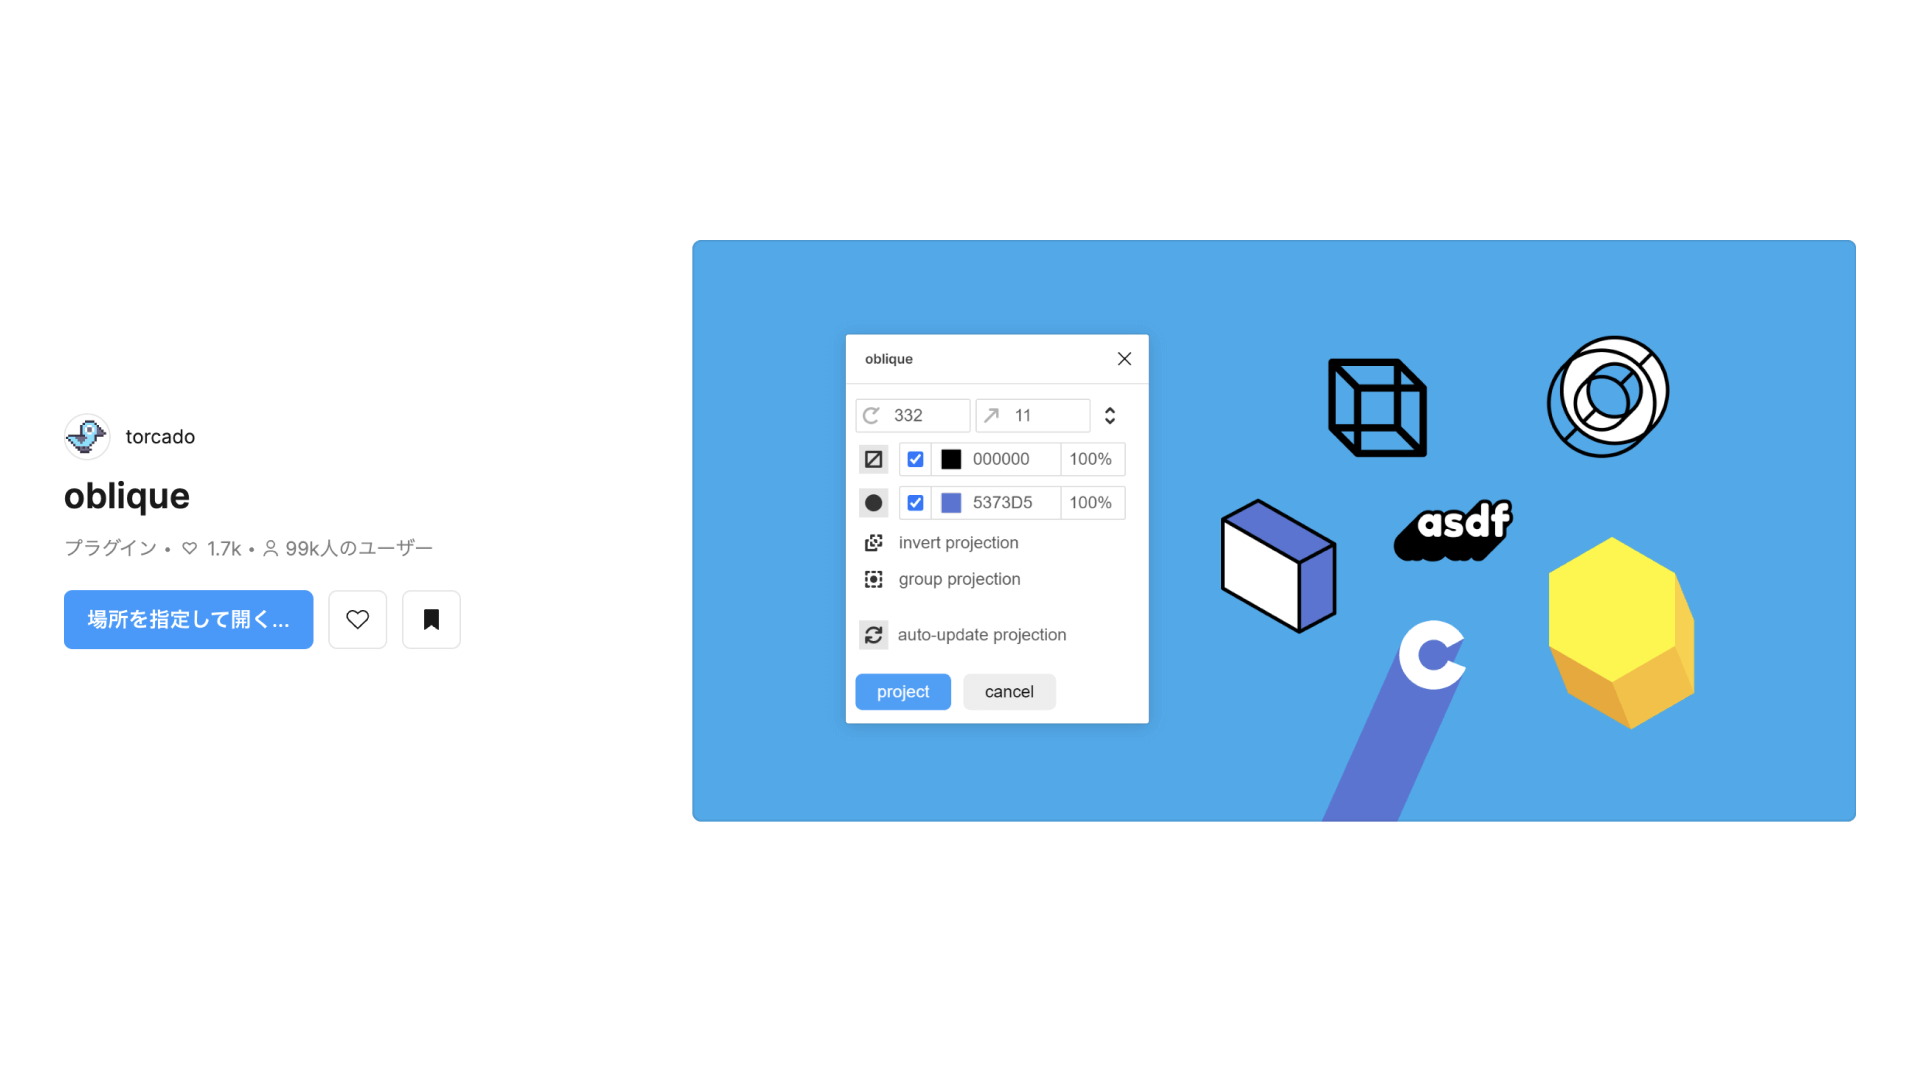
Using oblique, you can add shadows to shapes and text or create depth and perspective with minimal effort.
Tip: Create a simple social media icon
Even applying the effect to a single character can create enough emphasis, so it also works well when you want to make an icon from an initial, for example.
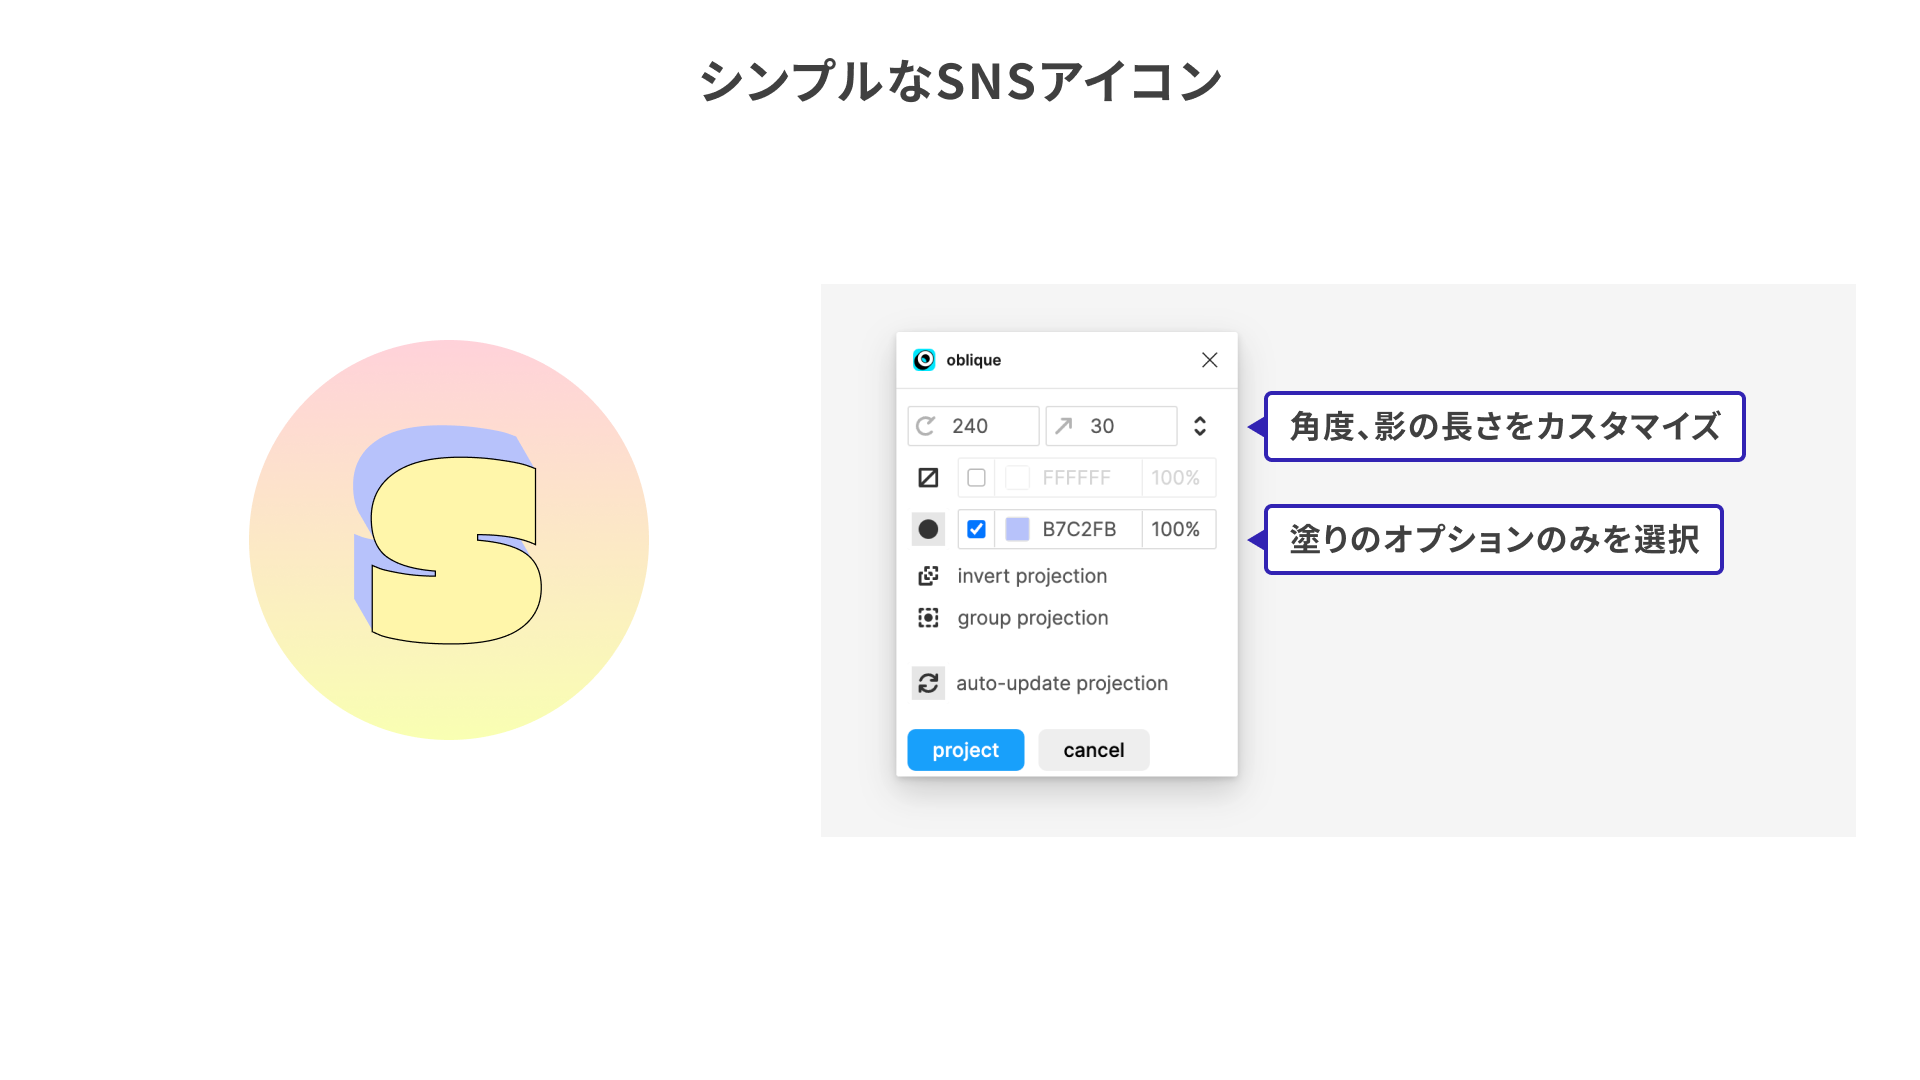
Using a distinctive font like the one in the example above can make the result even more memorable.
Conclusion
This article introduced plugins that are useful for image editing and creating graphic accents. One of the appealing things about Figma is that you can try all kinds of ideas while keeping the tool light and fast.
Find a plugin you like and try adding one extra touch to your usual design work.
